How to Use the JPEG to WEBP Converter: A Complete Step-by-Step Guide
In today’s fast-paced digital world, image optimization plays a crucial role in website performance and user experience. One of the most effective ways to reduce image file size without sacrificing quality is by converting JPEG images to the WEBP format. In this guide, you will learn how to use the JPEG to WEBP converter with ease. This article provides detailed steps, practical examples, and tips to make the most of this powerful tool.
Table of Contents
What Is a JPEG to WEBP Converter?
A JPEG to WEBP converter is an online or offline tool designed to convert traditional JPEG image files into the newer, more efficient WEBP format developed by Google. The WEBP format offers superior compression, resulting in smaller file sizes while maintaining excellent image quality. By using this tool, you can speed up your website loading time, save bandwidth, and improve SEO performance.
Why Should You Use a JPEG to WEBP Converter?
Before learning how to use the JPEG to WEBP converter, it’s important to understand why this conversion is beneficial. Here are the top advantages:
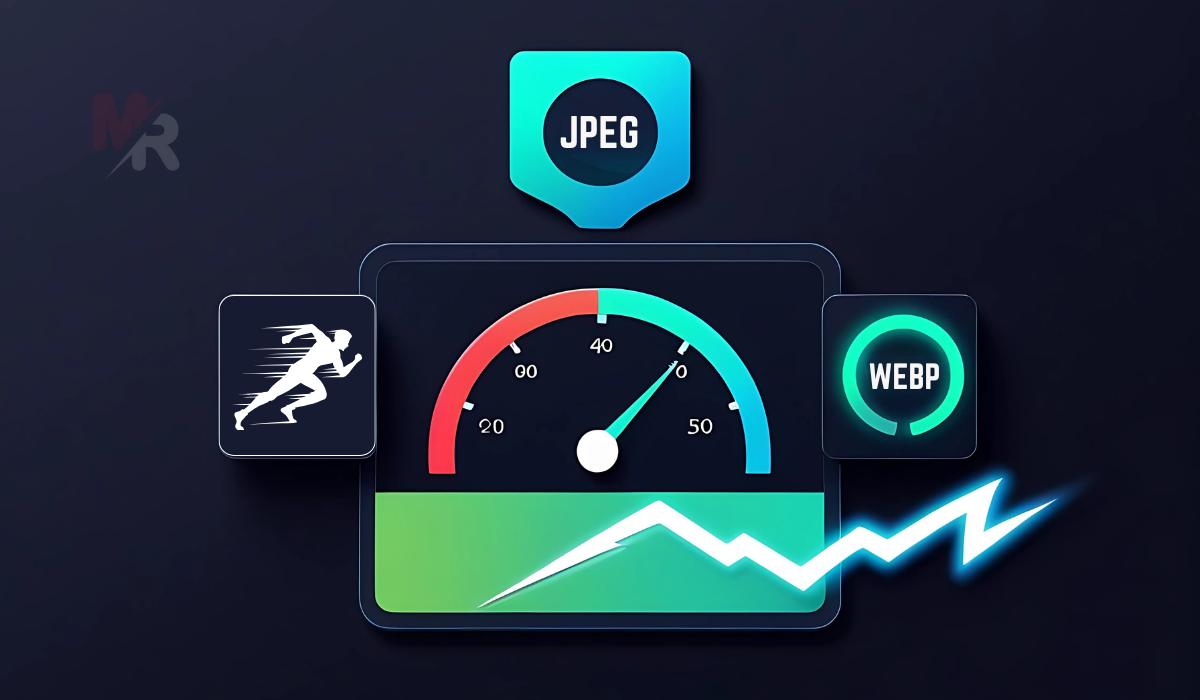
- Faster Website Load Times
WEBP images load significantly faster than JPEGs, especially on mobile devices. - Reduced File Sizes
WEBP can reduce file size by up to 25–35% compared to JPEG. - Better SEO Performance
Google favors faster websites. Smaller image files mean quicker page load speeds, which boost search rankings. - Improved User Experience
Quick-loading, high-quality images enhance the browsing experience for users.
How to Use the JPEG to WEBP Converter: Step-by-Step Instructions
Let’s dive into the exact steps you need to follow to convert your images effectively. Whether you’re using an online JPEG to WEBP converter or a desktop version, the process is usually straightforward.
Step 1: Choose the Right JPEG to WEBP Converter
Start by selecting a reliable tool. There are many online platforms that offer this service for free. Choose one that:
- Supports batch conversion
- Ensures high-quality output
- Offers drag-and-drop functionality
- Doesn’t require software installation
Popular online options include:
- CloudConvert
- Convertio
- Squoosh
Step 2: Upload Your JPEG Image(s)
Once you land on your chosen platform, you will usually see an “Upload” or “Choose File” button.
- Click on it to browse files from your computer or mobile device.
- Some tools allow you to drag and drop images directly into the browser window.
- You can upload a single JPEG or multiple files if batch conversion is supported.
Step 3: Select the Output Format as WEBP
After uploading the JPEG file(s), look for the output format selection.
- Choose WEBP as your desired format.
- Some converters may offer compression settings (e.g., quality level, resolution adjustment).
If available, you can tweak these settings to find the perfect balance between image quality and file size.
Step 4: Start the Conversion
Click the “Convert” or “Start Conversion” button.
- The tool will process the file and convert it into WEBP format.
- Depending on file size and server speed, this may take a few seconds to a couple of minutes.
Step 5: Download the Converted WEBP File
Once the conversion is complete:
- A download link or button will appear.
- Click on it to save the new WEBP file to your device.
- If converting multiple images, some tools provide a ZIP file containing all converted files.
Tips for Using the JPEG to WEBP Converter More Effectively
Now that you know how to use the JPEG to WEBP converter, here are some pro tips to enhance your workflow:
- Batch Convert for Efficiency
Upload multiple JPEG files at once to save time during large projects. - Use Compression Settings Wisely
If available, test different compression levels to achieve the best balance between size and quality. - Rename Files Before Uploading
Use SEO-friendly names for your images before uploading them to the converter to help boost search rankings. - Organize Your Files
Keep your converted WEBP images in organized folders for easy website integration. - Optimize Images Post-Conversion
After converting, consider using tools like TinyPNG or ImageOptim to compress WEBP files even further.
Frequently Asked Questions
Q: Is WEBP supported by all browsers?
Yes, most modern browsers like Chrome, Firefox, Edge, and Opera fully support WEBP. Safari added support in recent versions as well.
Q: Will converting JPEG to WEBP reduce image quality?
Not noticeably. WEBP uses advanced compression methods to reduce file size while maintaining high image quality. You can adjust compression levels if needed.
Q: Can I convert WEBP back to JPEG?
Yes. Most converters offer two-way conversion. You can switch back if compatibility becomes an issue.
Q: Do I need technical skills to use the JPEG to WEBP converter?
No. Most tools are designed to be user-friendly with simple upload-and-convert functions.
Conclusion
Now that you’ve learned how to use the JPEG to WEBP converter, you can easily optimize your images for faster websites, better SEO, and a smoother user experience. With just a few clicks, you can transform bulky JPEG files into lightweight, modern WEBP images.
Start using a trusted JPEG to WEBP converter today and unlock the full potential of your digital content. Whether you’re a blogger, developer, or marketer, this simple step can make a big difference in performance and user satisfaction.